

Fetching data in the frontend
Now it’s time to get the data into the frontend. If you wish you can copy the demo project below, or simply follow along.Setting up the demo project
Go to our GitHub-repo (https://github.com/enterspeedhq/enterspeed-demos/tree/master/vanilla-js) and clone the project. cd into the vanilla-js folder and run:.env.local
For a production environment, your API key should be injected on build time or via a serverless function.
Ways of fetching data
Fetching data from Enterspeed can be done in three different ways:- By using Handle
- By using URL
- By using ID
enterspeed.js
Creating the website
Setting up the HTML
We start by setting up all the HTML that we need. We’re including two libraries:- Tailwind CSS to style the page
- Navigo to have a simple JavaScript router
The HTML
Initializing the router
Now that we got the structure in place, let’s look at the JavaScript needed. First, let’s Initialize our router, which takes one mandatory argument - the root path of our site.Initializing router
Creating the renderHomepage function
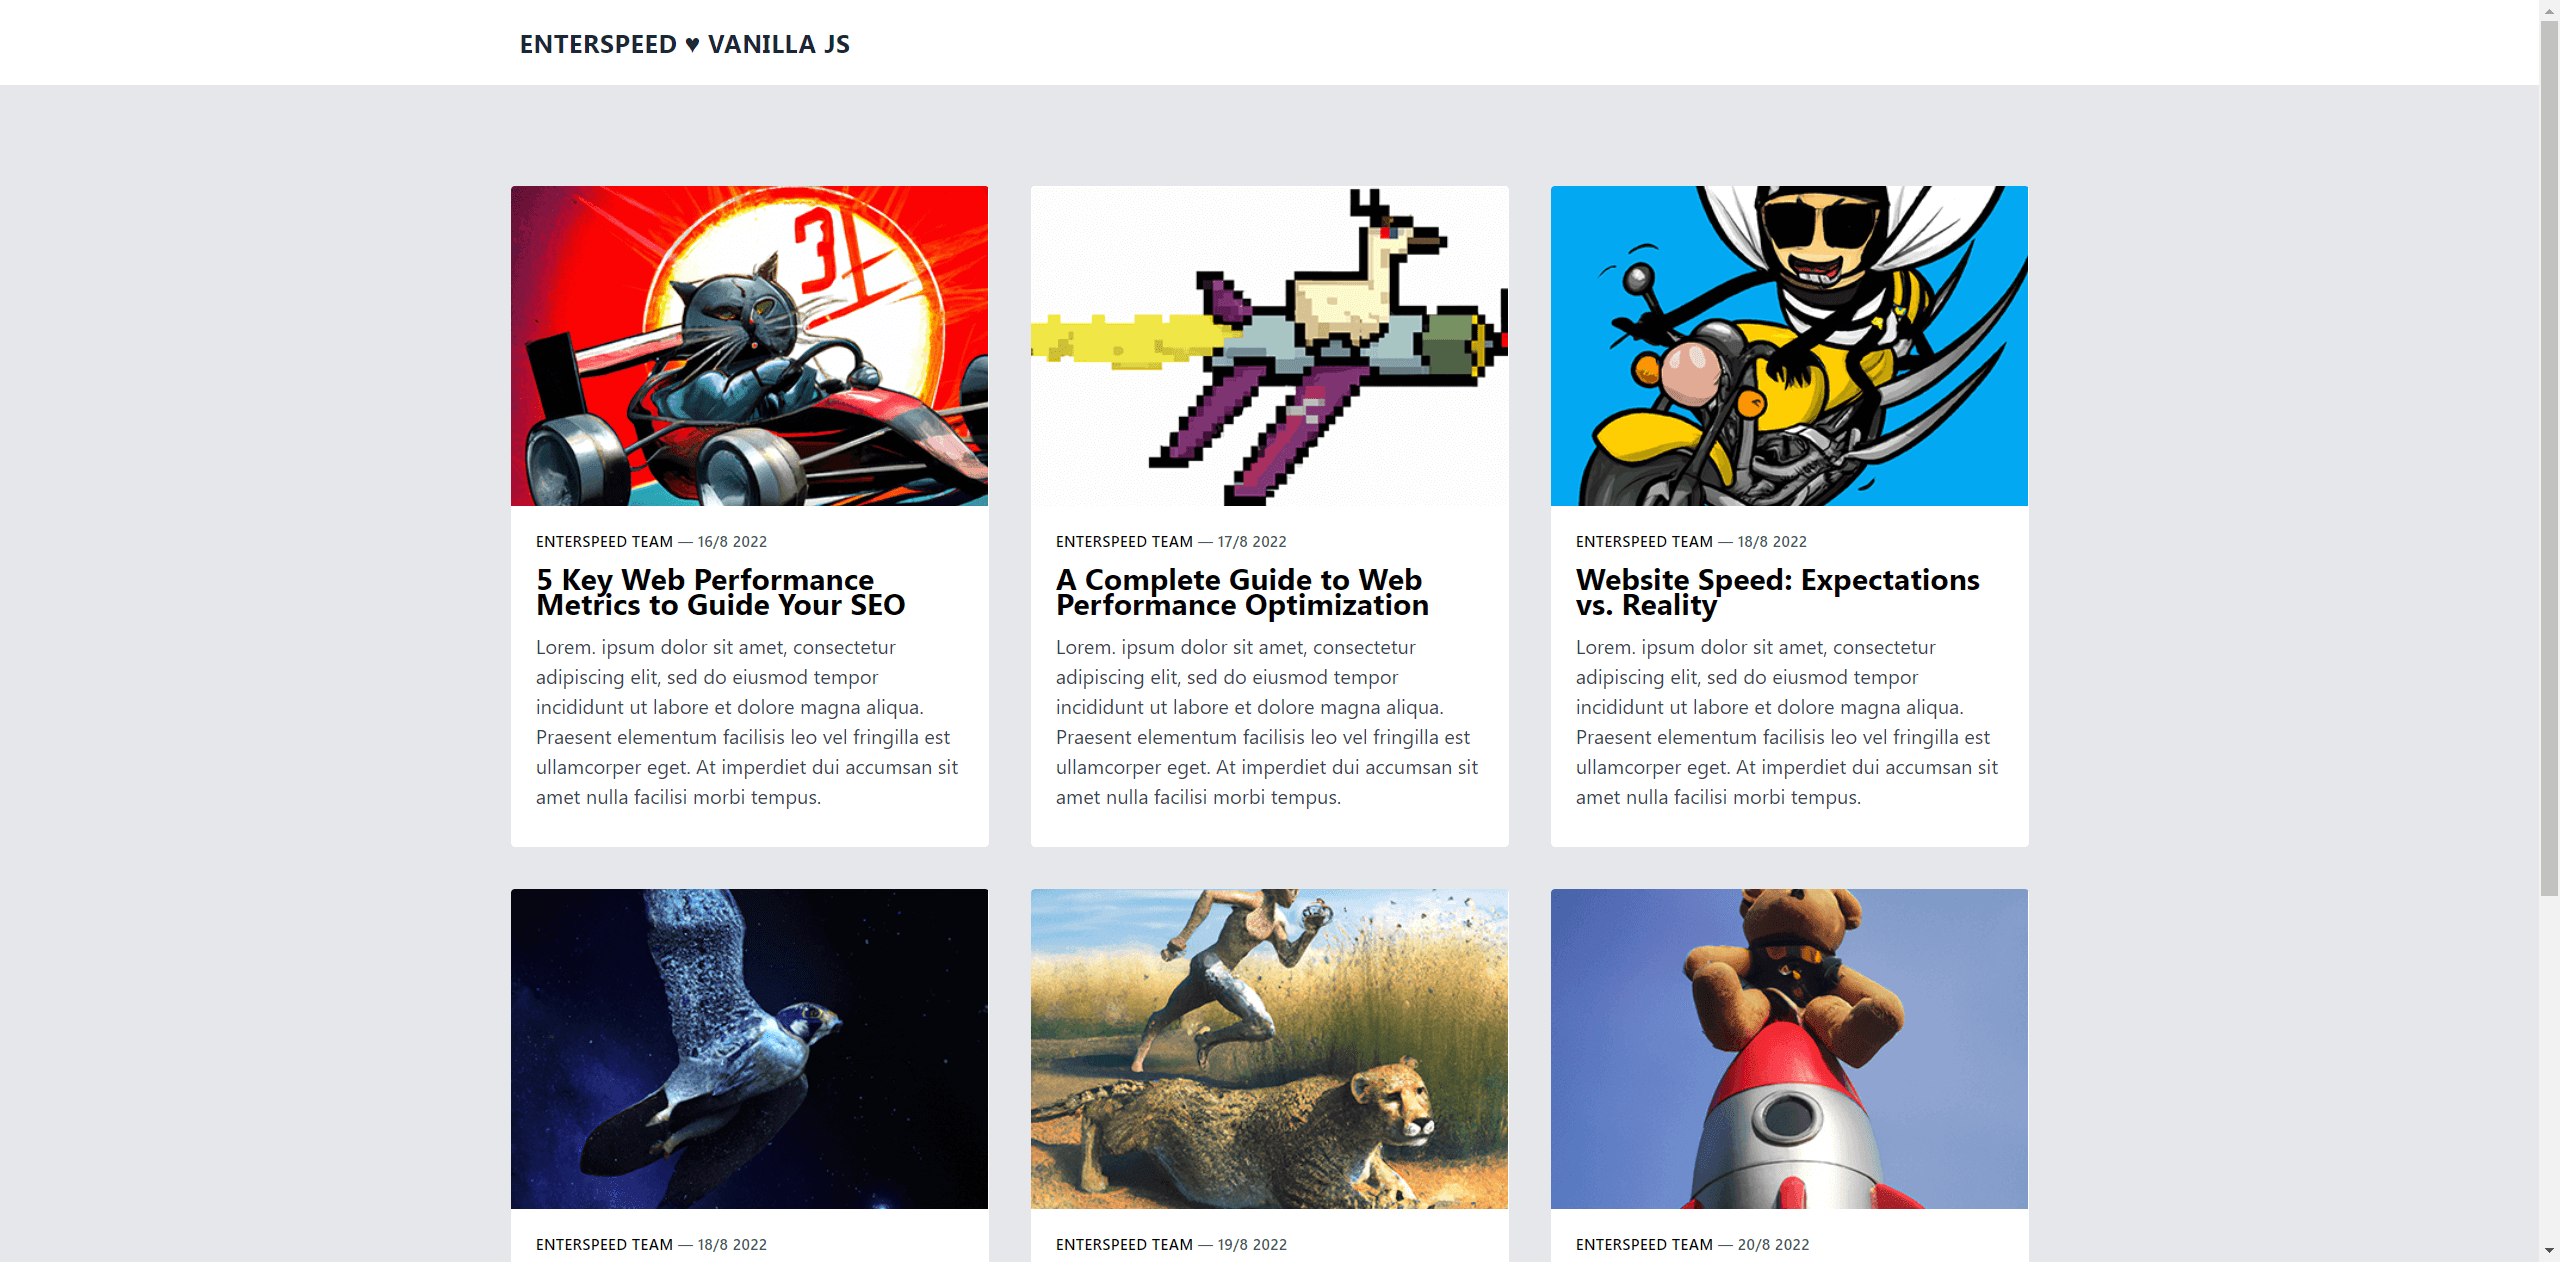
Next, let’s create a function that renders our homepage.renderHomePage function
enterspeed.js function.
We include the query ?handle=blogList since we want to map out the blog posts in a nice grid overview.
The content is stored in data.data.views.blogList.content, which we assign to a const called posts.
renderHomePage function -- fetch
posts HTML element:
The posts HTML element
renderHomePage function -- mapping posts
Notice that we have inserted
data-navigo in the a tag. This is so Navigo attaches a click handler which fires the router’s navigate method.updatePageLinks method. When any of the link which has the data-navigo attribute gets clicked, it should call the renderPostPage function, which we will create next, and give it the post link as an argument.
renderHomePage function -- updatePageLinks
renderPostPage function, let’s remember to initialize our renderHomepage function by calling it.
Initializing renderHomePage()
Creating the renderPostPage function
renderPostPage function
enterspeed.js function. We use url= instead of handle=, since we set the route to url in our blog posts schema.
The content here is stored in data.data.route.content, which we assign to a const called post.
We then create the HTML for the “post” and map the data appropriately.
Lastly, we take our postPage and add it to our main HTML element:
The main HTML element
The article HTML element

The complete index.html