Designing your APIs in Enterspeed
Now for the fun part - designing the APIs we’re going to use. This will be the glue that ties our Sources and Environments together. We do this by setting up schemas. You find the schema editor in Enterspeed under Schemas.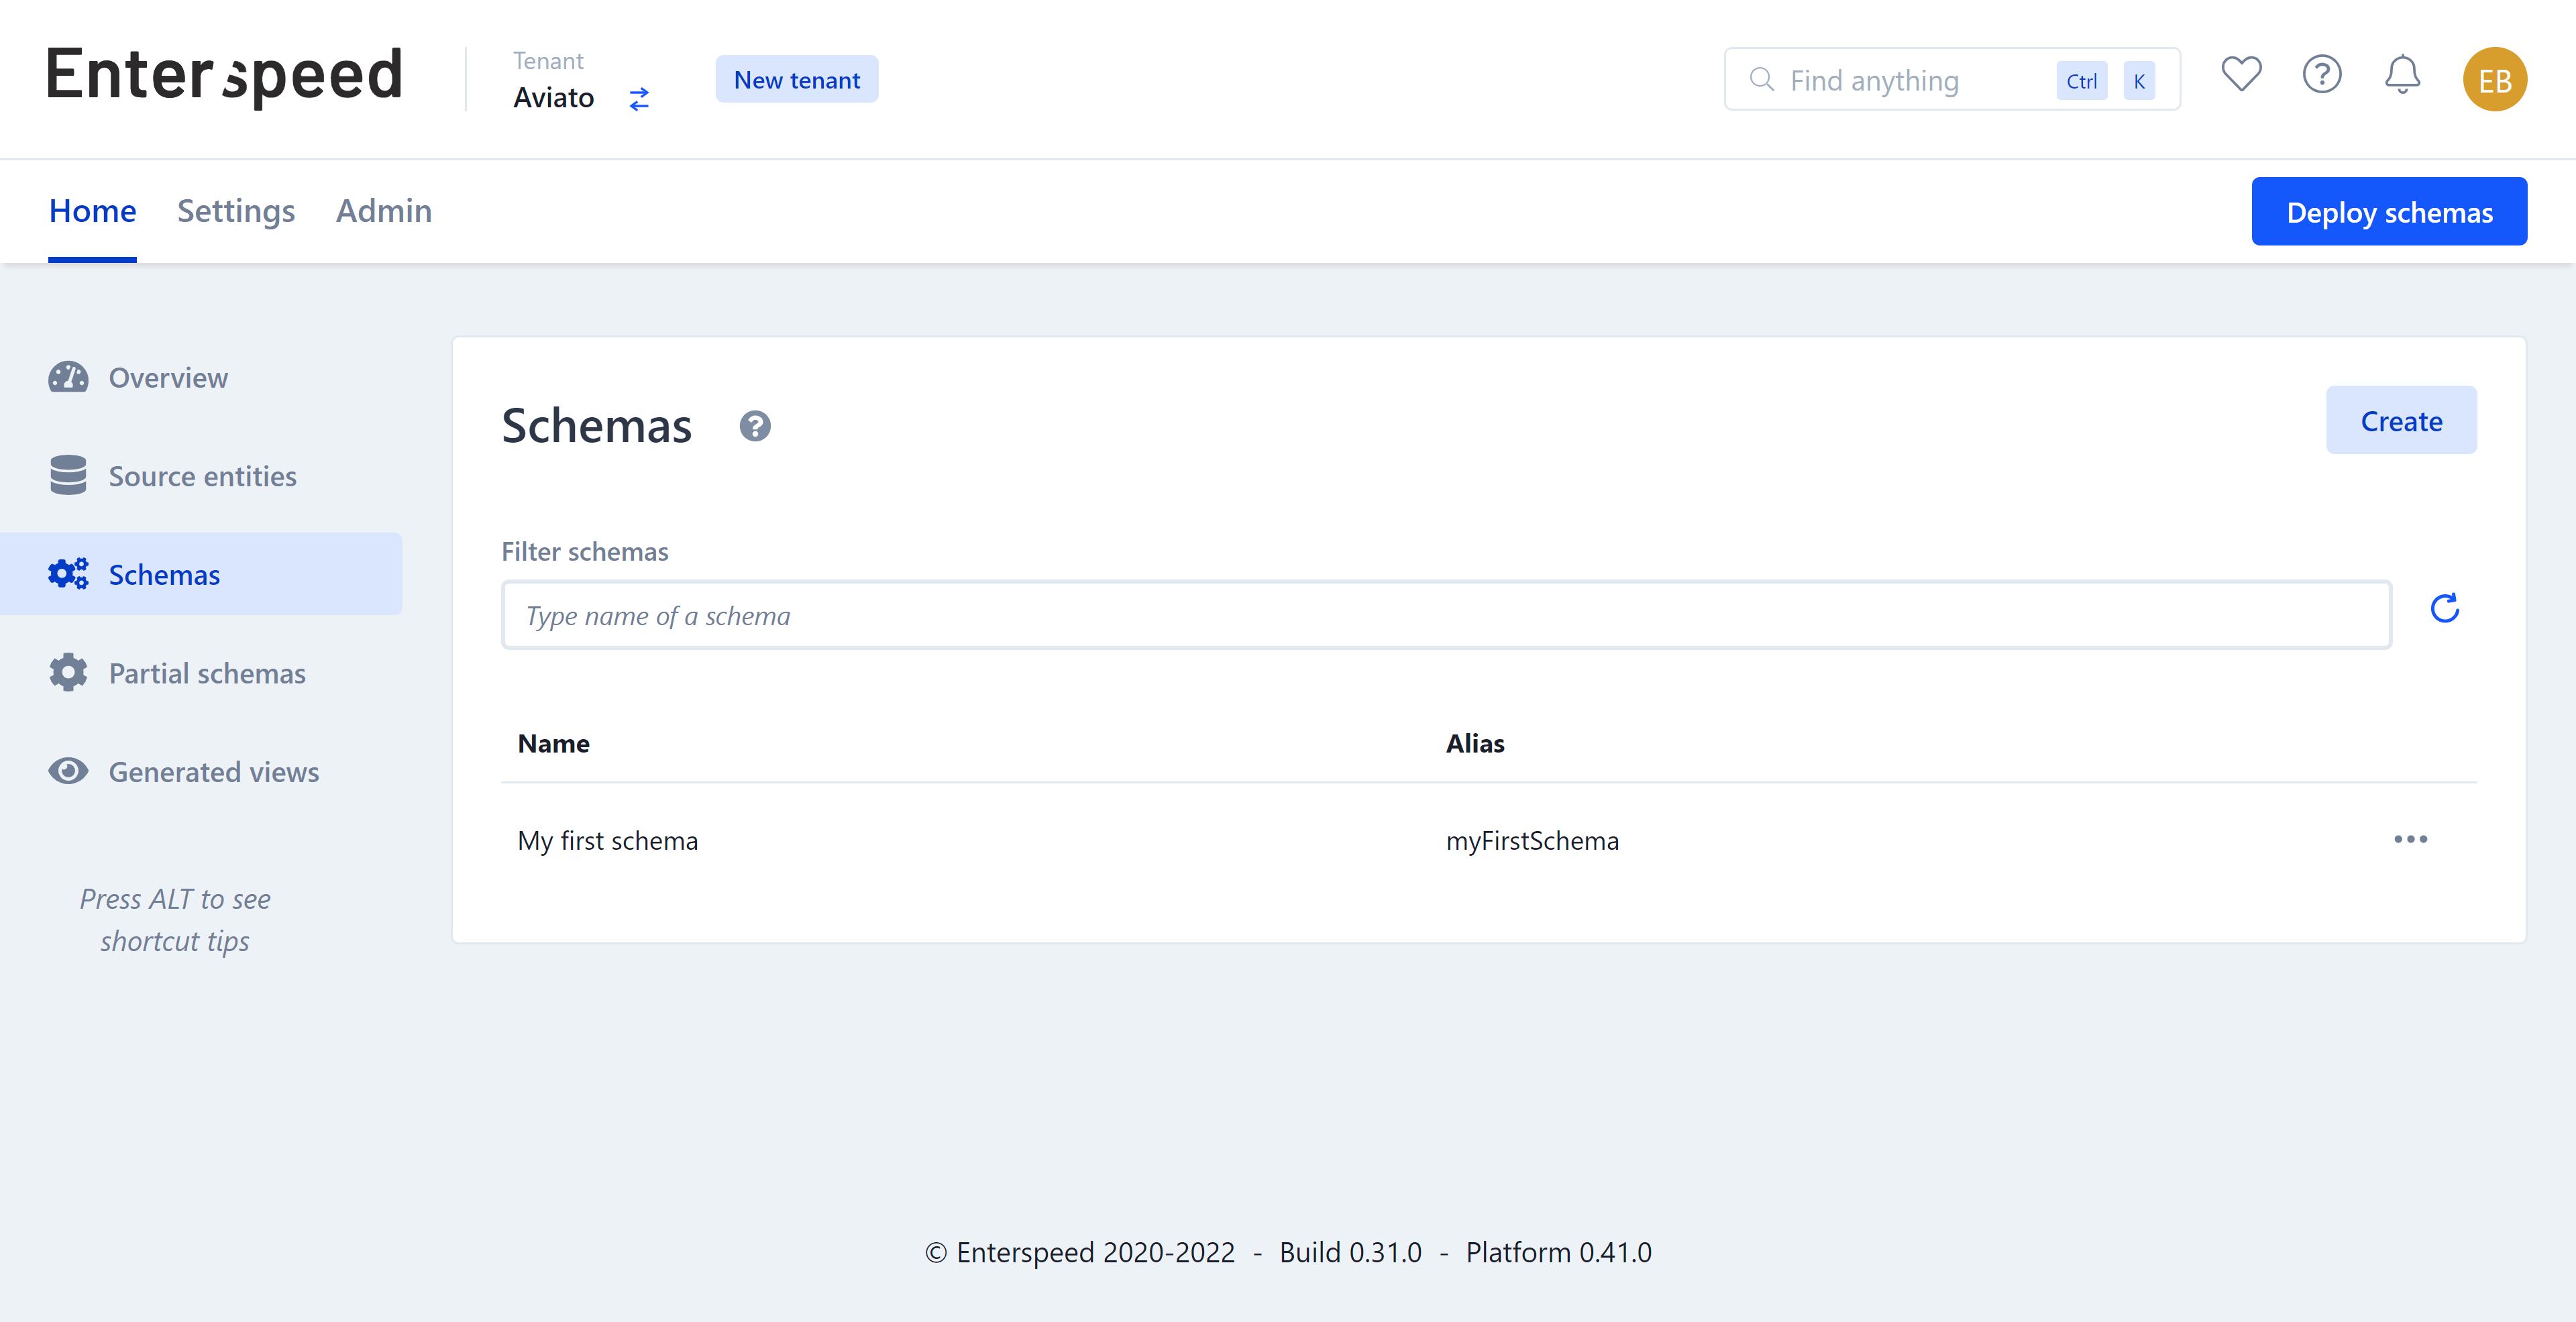
How does a schema work?
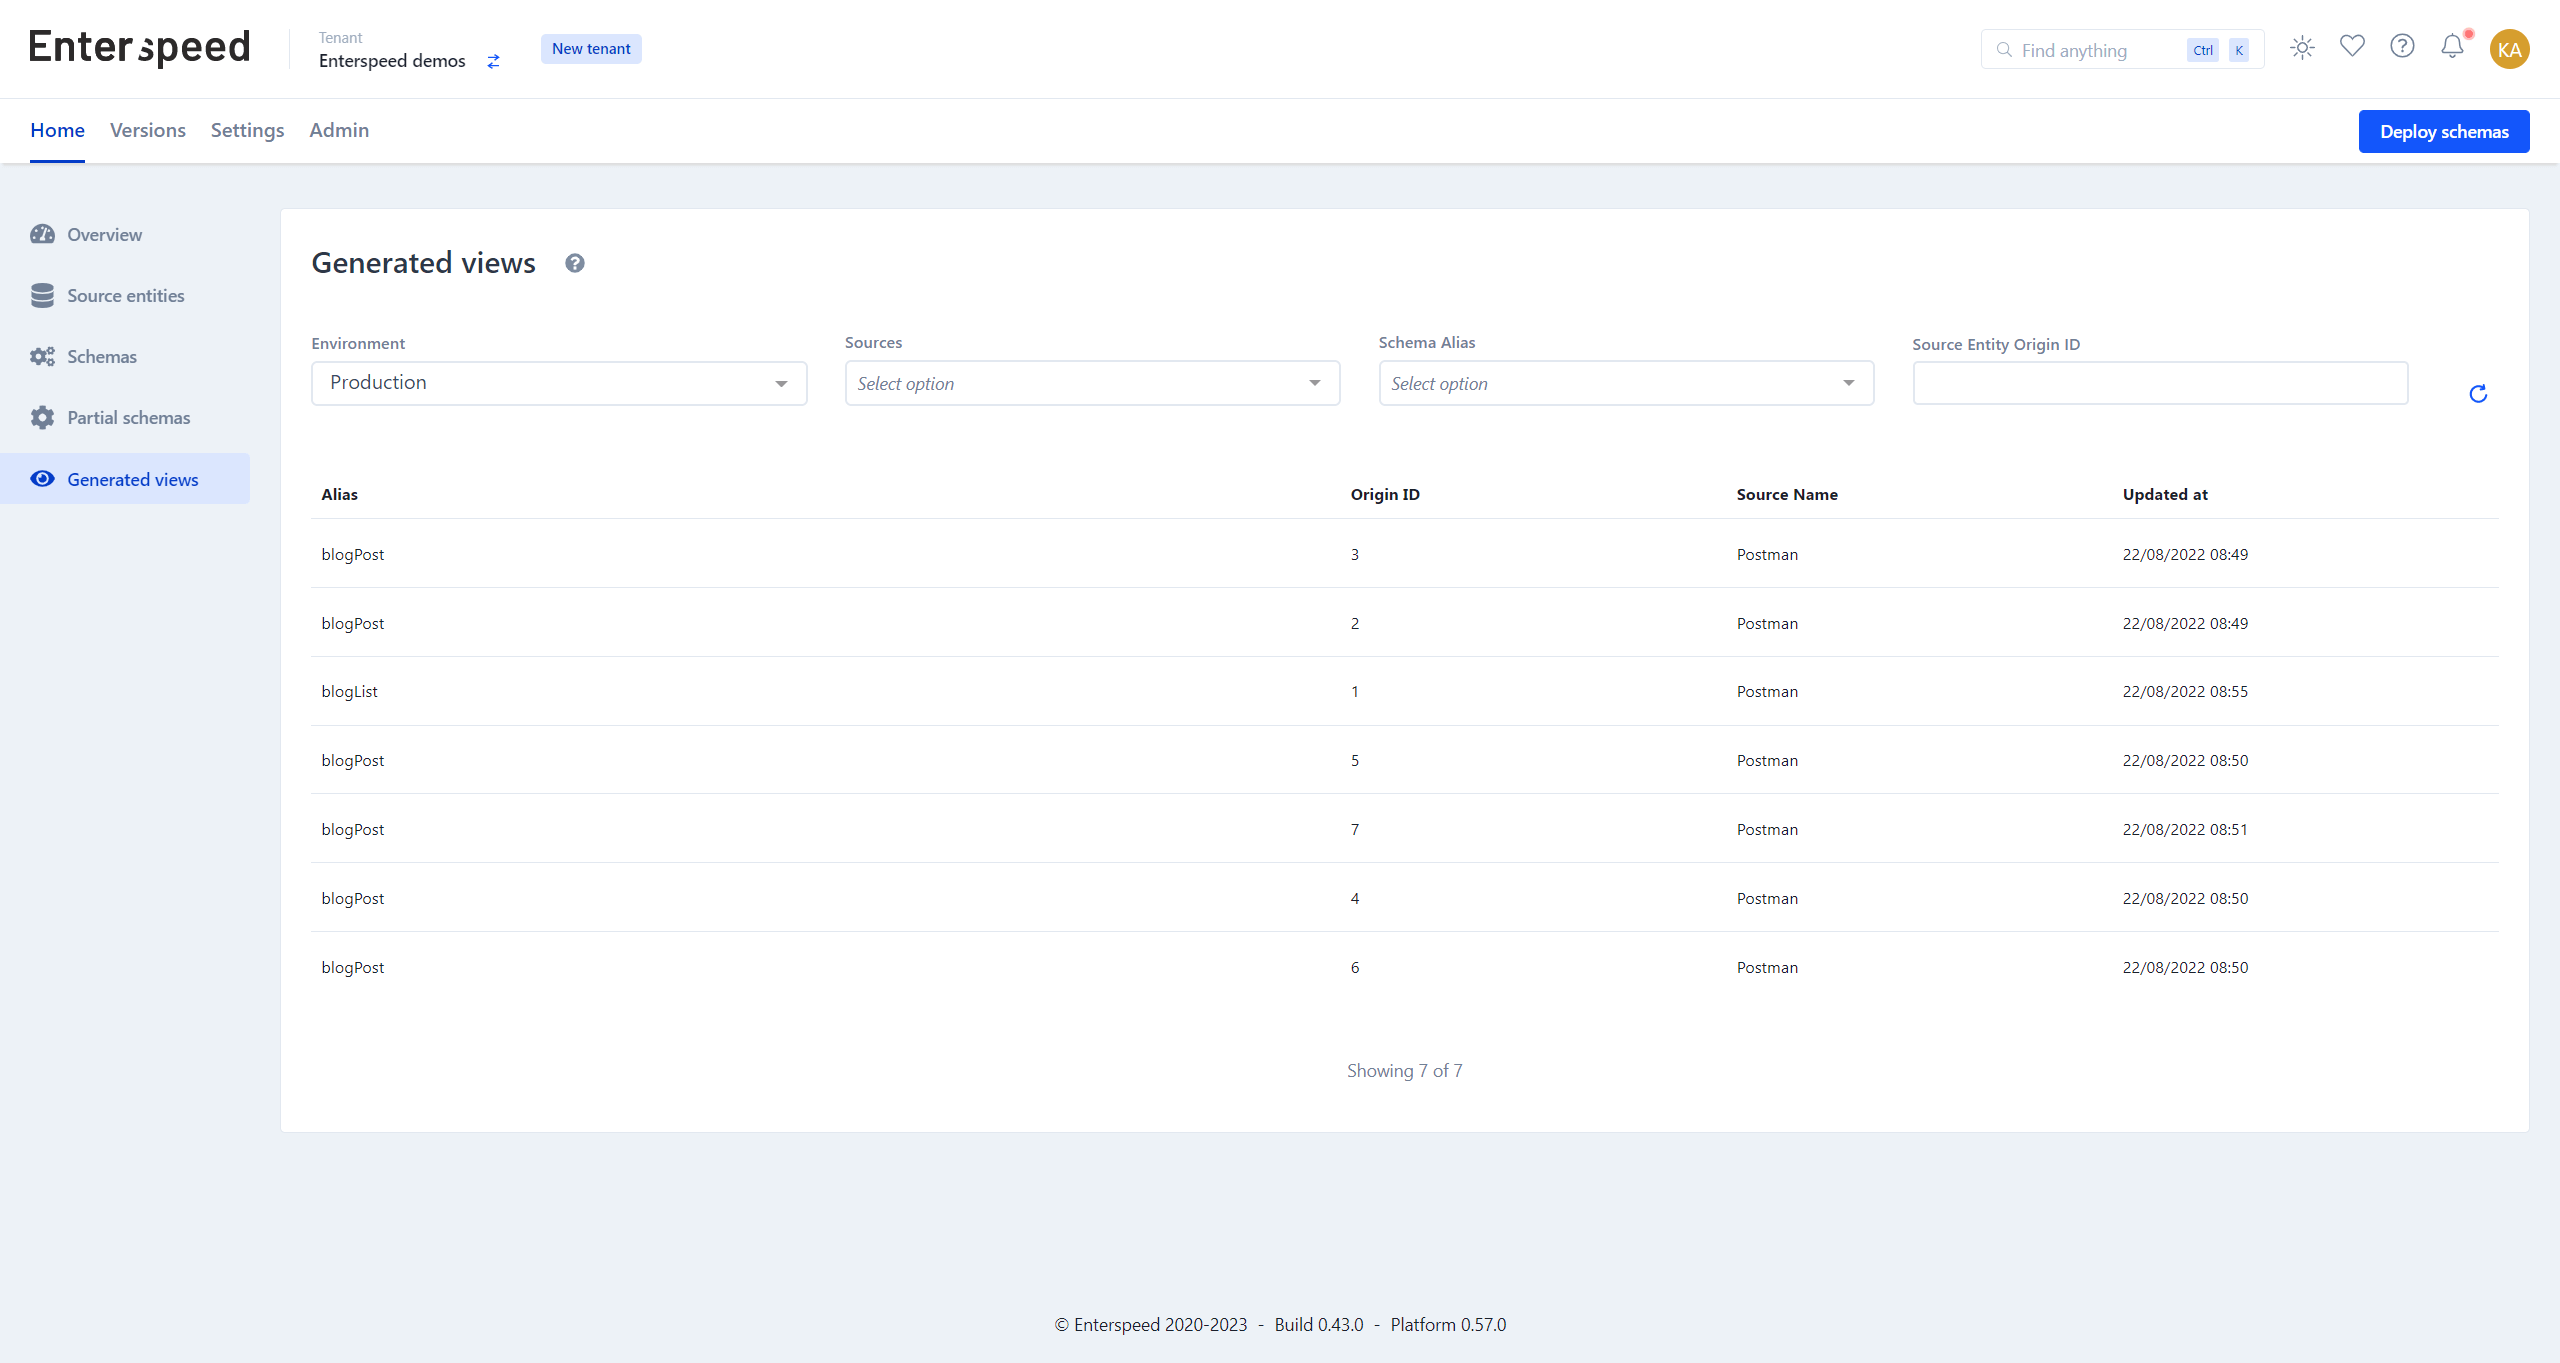
The schema is the way you design your API. Here you define which sources you want to use, how you should be able to fetch them, and which data you want available. The sources you define will be transformed into individual Generated Views which are available to fetch via our Delivery API. Each time data changes (source entities) in the sources you have defined, a new View will be generated or an existing one updated.Designing the Blog Post schema
Let’s take a look at how a schema can be structured. We’ll look at the Blog Post-schema, which will be responsible for showing the individual blog posts.
Go to Schemas and create a new schema called Blog Post. Open the editor and replace the content with the snippet below.
Blog Post schema
Triggers
The first thing you need to define is your triggers. Triggers consist of one or more source groups, which contain one or more source entity types (the data your schema should use). You can find a list of all the Source Entity Types in the Source entities table in your Enterspeed-project under Type. In our case, we have a source group calledpostman (note that we’re using the alias of the source group and not the name).
blogPost schema -- triggers
Route
Next, we need to define the route (how we should be able to fetch the data). We can do this by URL, Handle, or ID. For our blog posts URL makes the most sense.blogPost schema -- route
Actions
Next, we need to set up an action. We’re going to create a list of all the blog posts we have (we’ll do this in the next schema). The reason we do this is to get the performance benefits of having a static (already generated) list, instead of having to do expensive lookups. For this list to update, it needs to know when to update. When we ingested our blog posts we assigned each blog post anoriginParentId, which was our blog collection source.
In the actions below, we define that we want the parent source entity with the schema blogList, to reprocess (generate a new view) each time data is updated in this schema.
blogPost schema -- actions
Properties
Lastly, but certainly not least, we need to define which data we want in our schema. We do this under properties. Here we are mapping the properties that we need in our frontend.blogPost schema -- properties
Designing the Blog list schema
Now it’s time to design the schema which contains a list of all our blog posts. Just like before, create a schema called Blog list, replace the content with the snippet below and lets break it down.
blogList schema -- finished result
Triggers
Unlike what you may think, we’re not going to use theblogPost source entity type, as our trigger, but rather the blog source entity type. The blog source entity type works as a parent for all our blog posts.
blogList schema -- triggers
Route
Now it’s time to define how we want to fetch it. Since our list of blog posts can be used on multiple pages (The blog page itself, the homepage, “Latest posts”-widgets”, etc.) we are going to fetch via a handle, which we callblogList.
blogList schema -- route
Properties
For the properties, we are referencing theblogPost schema for all the children of the blog and returning an object with a content property.
blogList schema -- properties
When we ingested the source entity used for this schema we gave it Now we tell our schema to look through all child source entities of the blog source entity. This will return all source entities with a property called
originId 1:Blog collection (ingest)
originParentId, which then should be equal to our originId. We defined the originParentId in the Blog post source entities we ingested:Blog post #1 (ingest)
Deploying the schemas
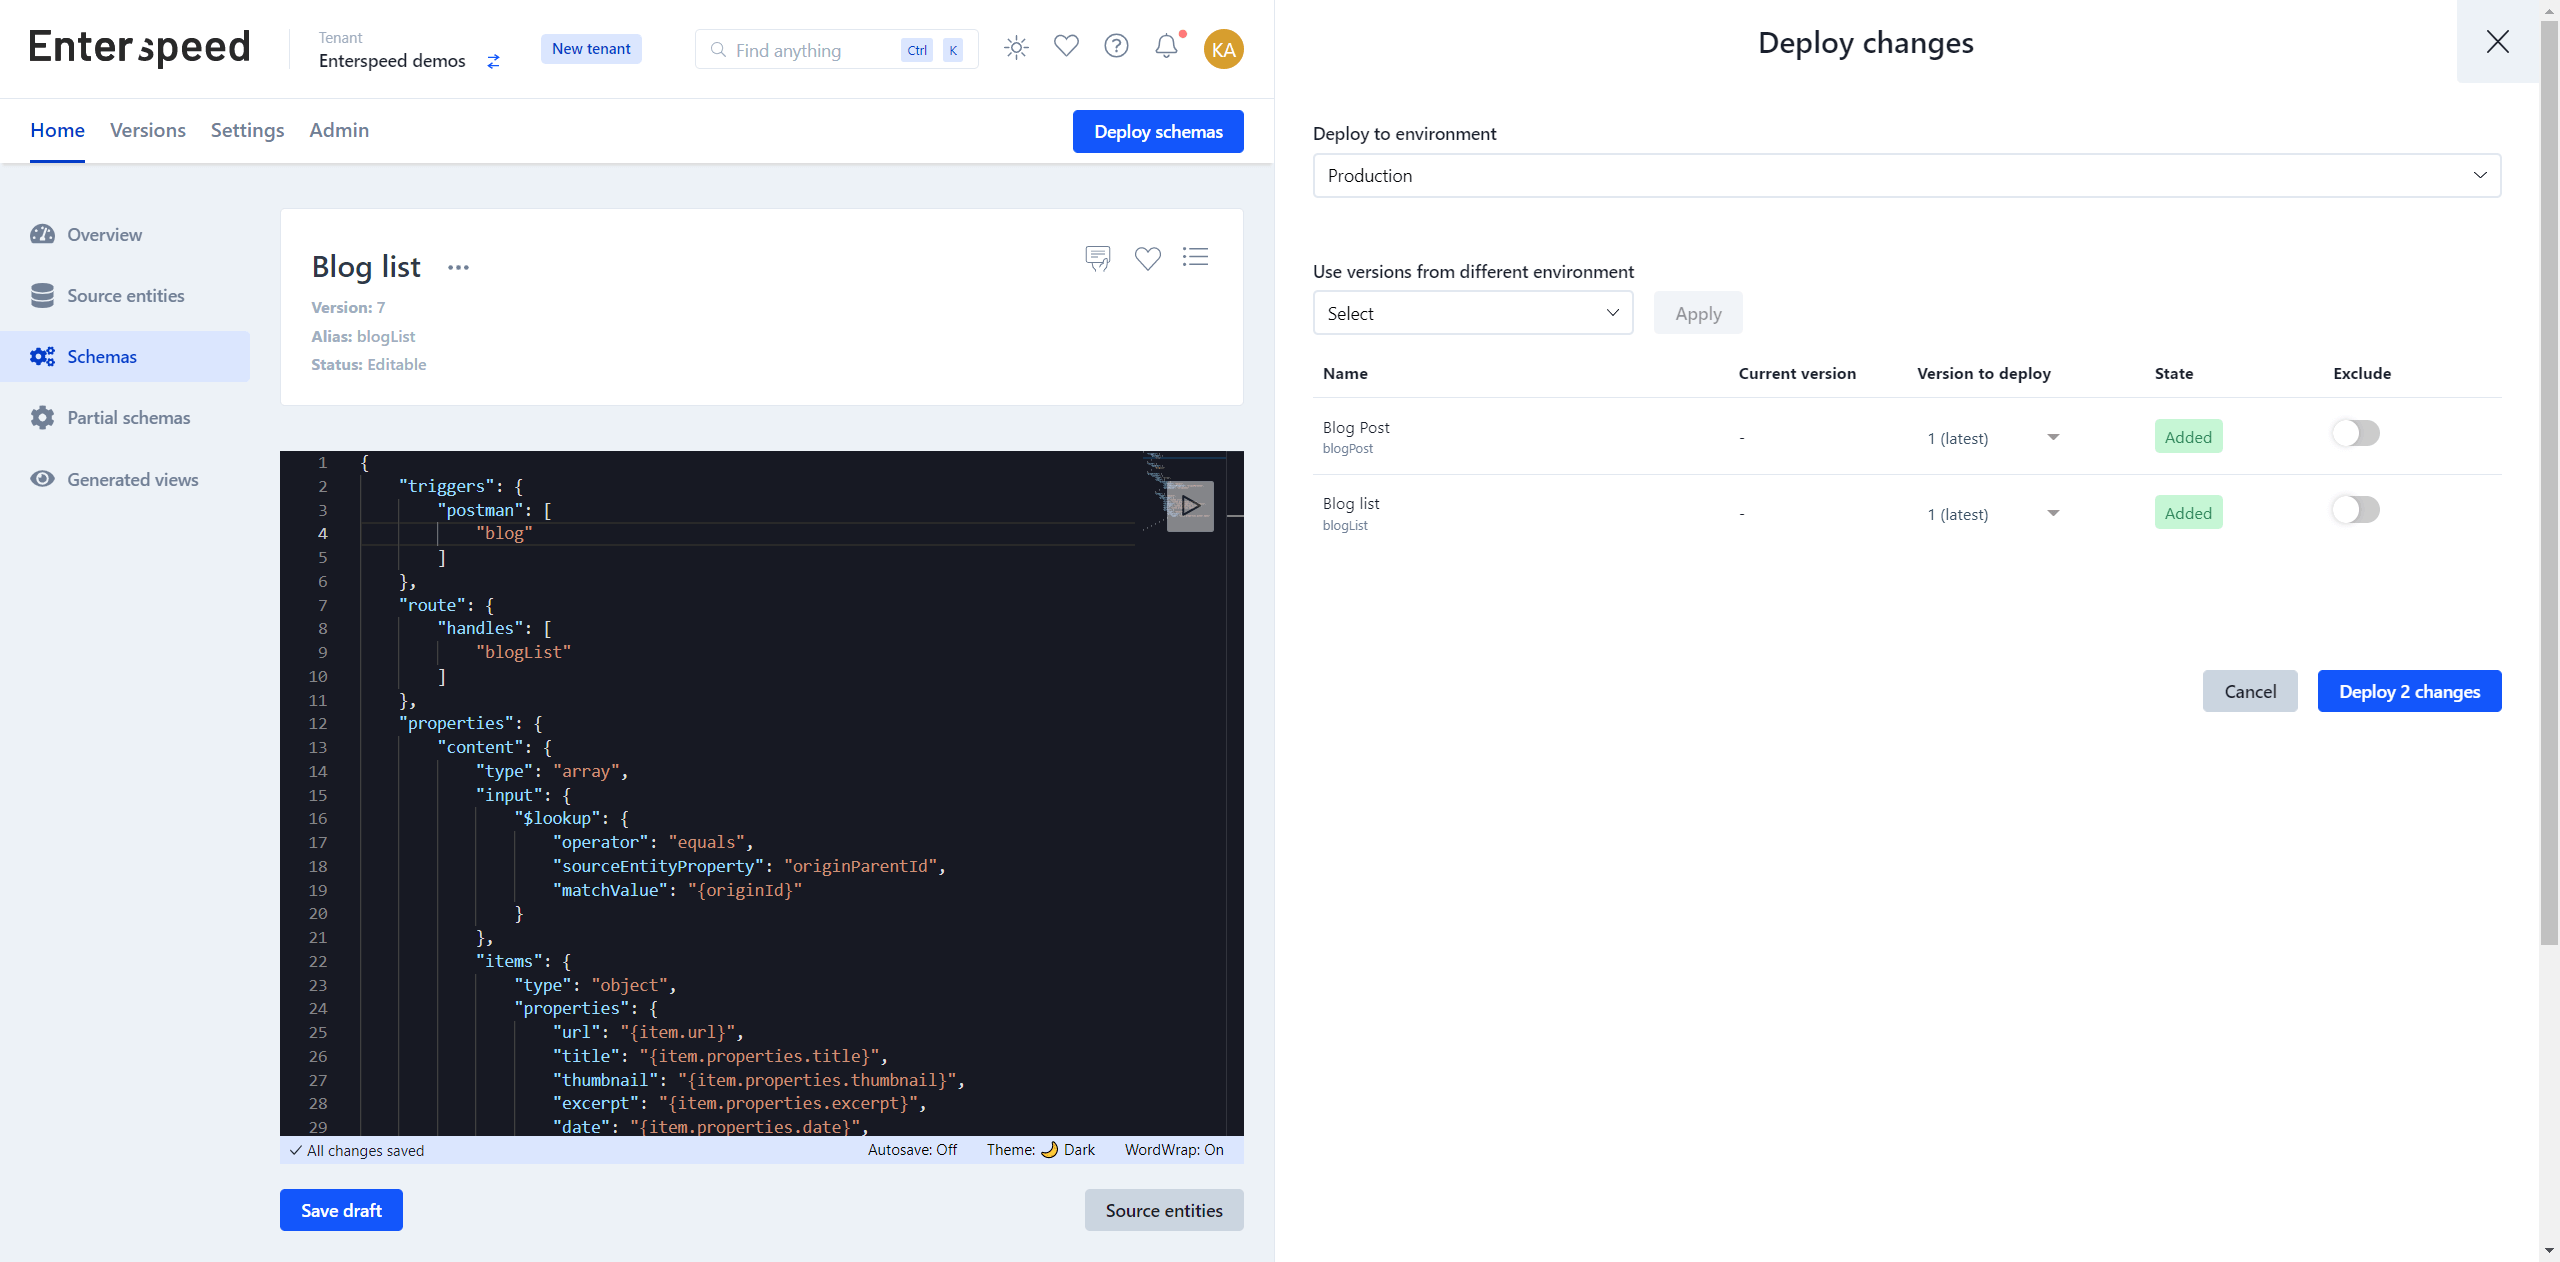
Now it’s time to deploy the schemas. Deploying schemas will automatically generate views which will then be available in the Delivery API. Click the Deploy schemas button in the top right corner. This will open the deploy pane. Choose the environment you wish to deploy to (e.g. Production) and click the Deploy 2 changes-button.