Create schemas
Now let's transform that data and create the output we need for our frontend.
PIM categories
First, create a schema named Pim Category:
/** @type {Enterspeed.FullSchema} */
export default {
  triggers: function(context) {
    context.triggers('productListDemoPIM', ['PimCategory'])
  },
  actions: function (sourceEntity, context) {
    context.reprocess('productCategories')
              .bySchema()
              .sourceGroup('productListDemoCMS')
  },
  properties: function ({properties: p}, context) {
    return {
      image: p.image,
      title: p.title,
      lead: p.lead,
      button: p.button
    }
  }
}
This will hold the data model for our category coming from the PIM, creating a view for each individual category.
Product Categories
Finally, we need a Product Categories schema.
/** @type {Enterspeed.FullSchema} */
export default {
  triggers: function(context) {
    context.triggers('productListDemoCMS', ['ProductList'])
  },
  routes: function (sourceEntity, context) {
    context.url(sourceEntity.url)
  },
  properties: function ({properties: p}, context) {
    return {
      headline: p.headline,
      lead: p.lead,
      categories: context.reference('pimCategory')
                            .filter("type eq 'PimCategory'")
                            .sourceGroup('productListDemoPIM')
                            .limit(4)
    }
  }
}
This schema holds the data model for our CMS data (headline and lead) and looks up the PIM.
Deploy and test output
Now we are ready to deploy the schemas and make sure the output, is as expected.
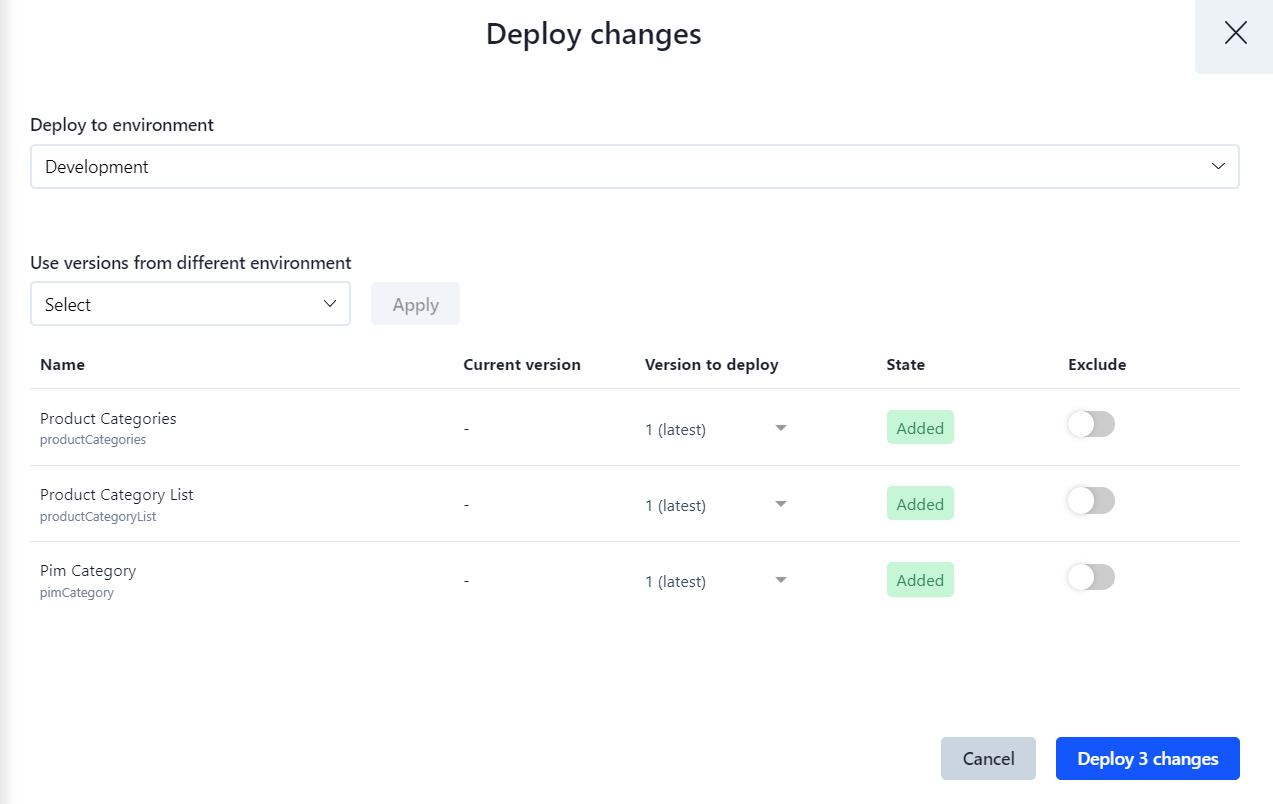
Click on the "Deploy changes"-button in the top right corner. Choose your environment and click on the "Deploy 3 changes"-button.
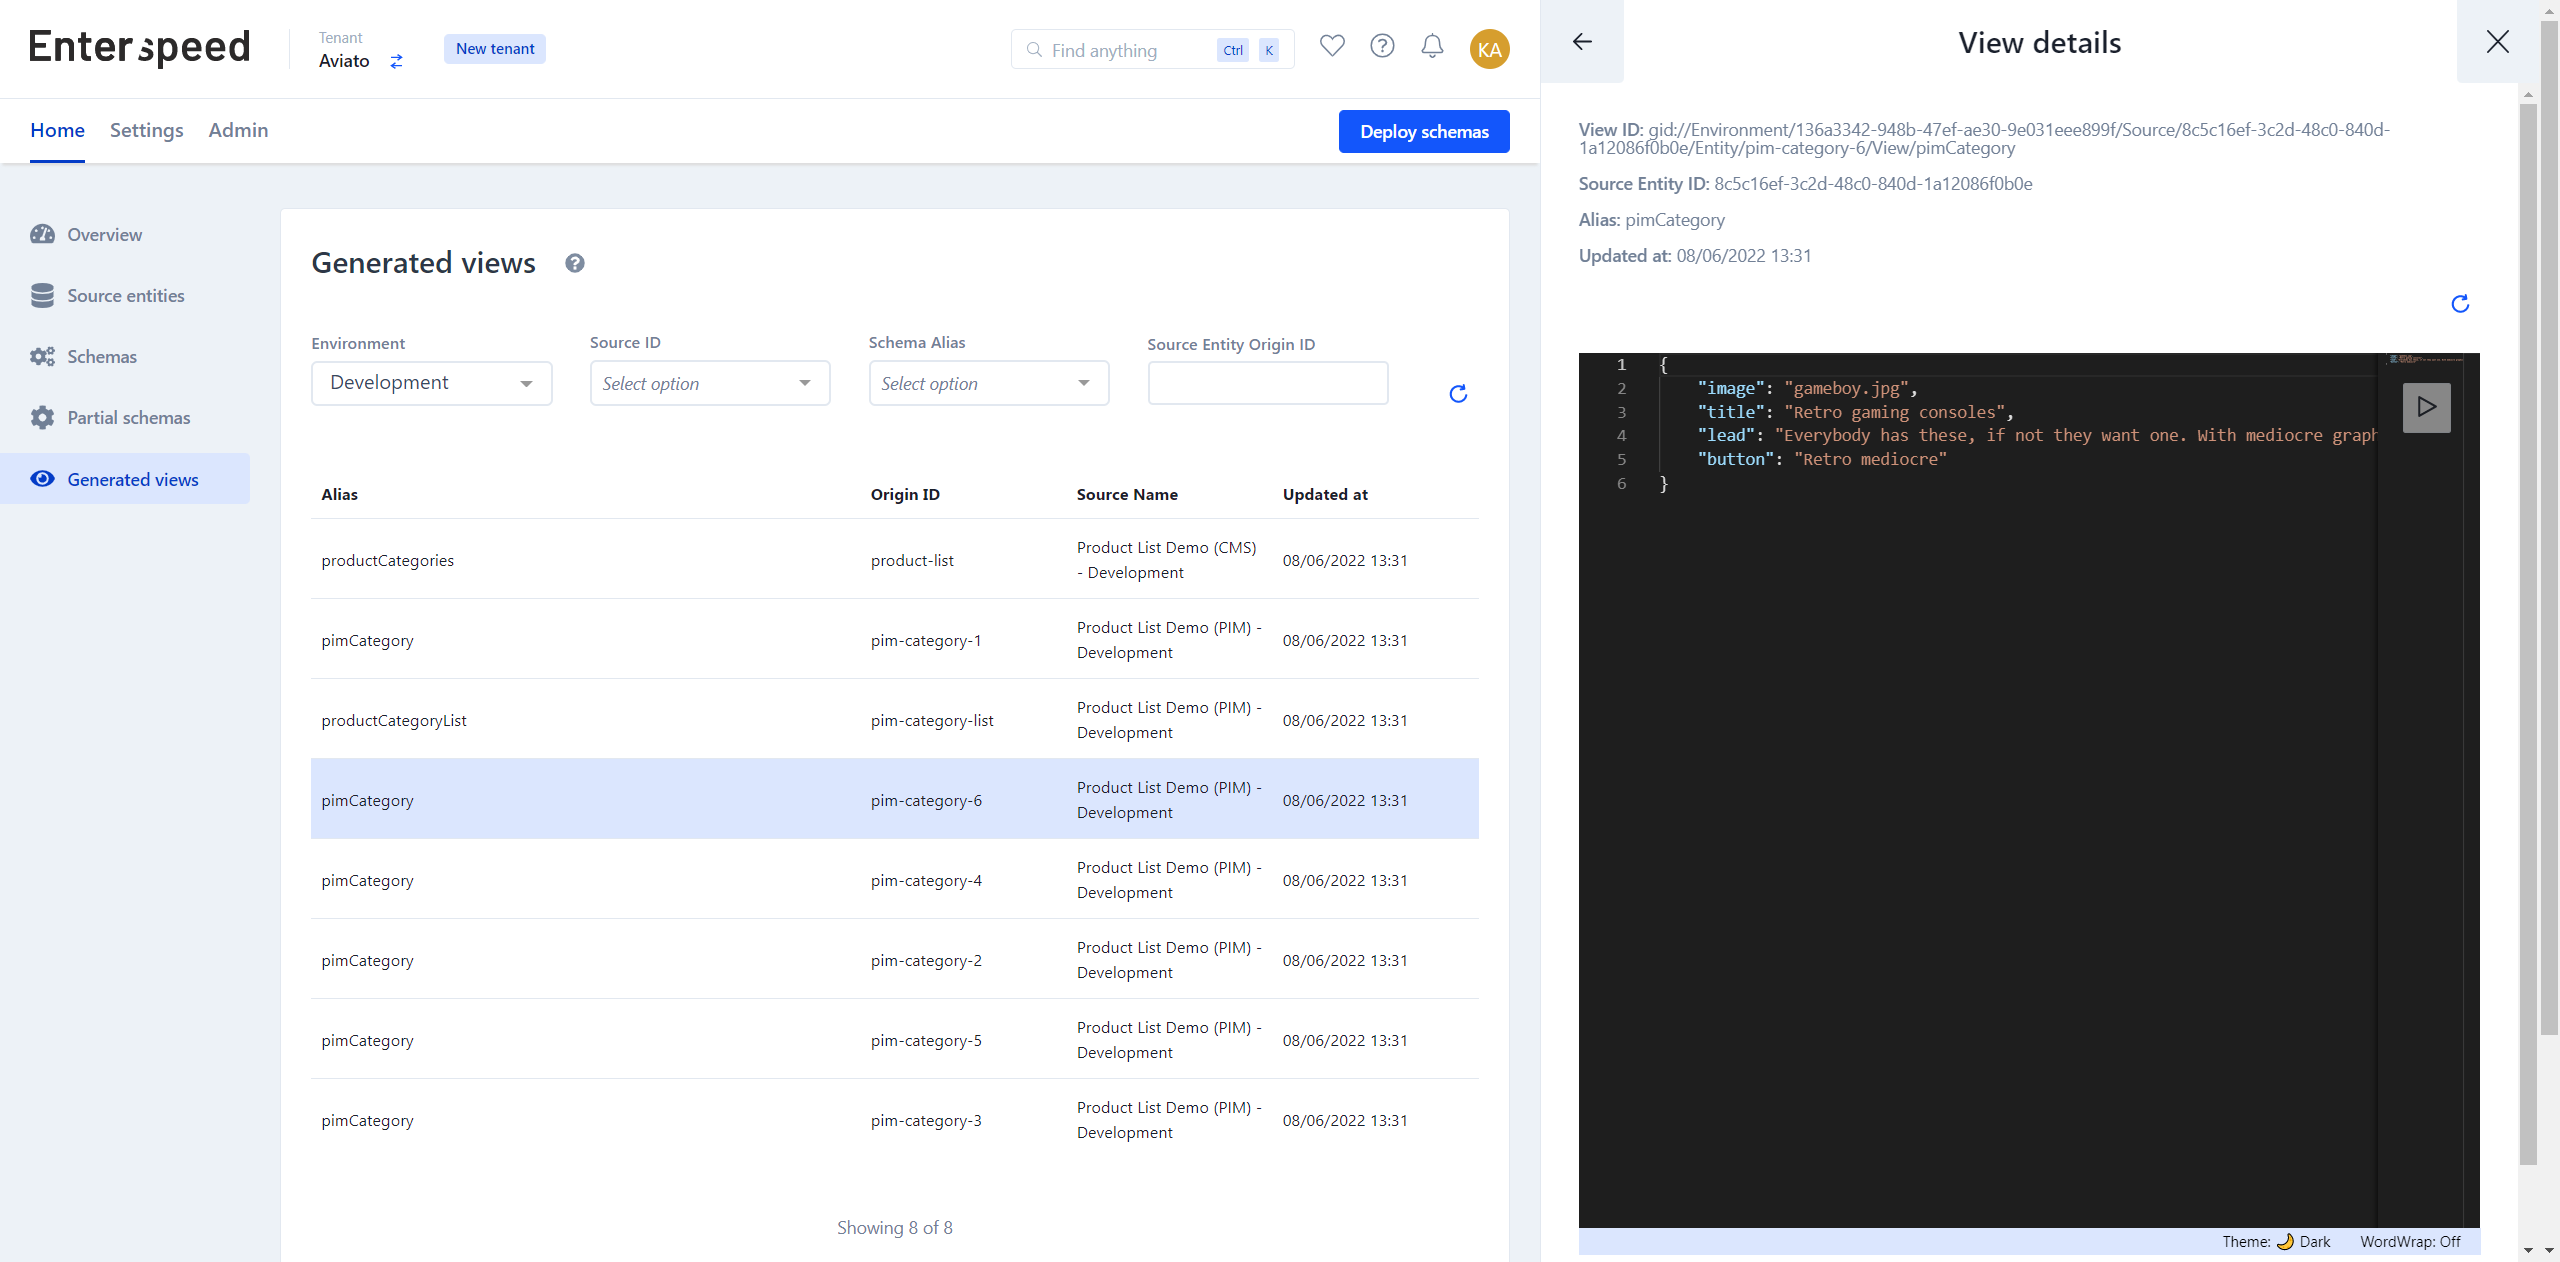
Once the changes have been deployed, you will be able to view them under Generated Views.