
Designing a schema

Our schema can be divided into two areas: “Settings” and the actual data.

In our settings, we define:

  1. Which source groups and source entity types to use (triggers)
  2. Set if the schema should be available via routes
  3. Set if actions should occur when the schema is processed.

And in our data, we map our existing data to our new content. This is all done under the "properties"-object.

tip

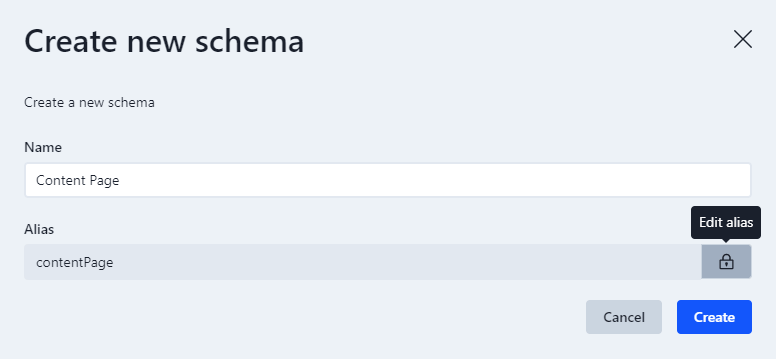
When creating schemas, Enterspeed will automatically generate an alias in camel case based on the name you provide. You can set your own alias by clicking the lock to the left of the alias.

Deploy schema

Configuring the settings

The first thing you need to define is your triggers. Triggers consist of one or more source groups, which contain one or more source entity types (the data your schema should use). You can find a list of all the Source Entity Types in the Source entities table in your Enterspeed-project under Type.

info

The Source entity types are fetched from your data source, e.g. your CMS.

Let's have a look. Say we wish to use data from our Umbraco Cloud (alias: umbracoCloud) source group which have the contentPage type, we simply define it like this:

triggers: function(context) {
context.triggers('umbracoCloud', ['contentPage'])
}

Next, we need to define how we can fetch the data. We do this under routes. Fetching can be done by URL, Handle, and ID. In this example, we do it by URL.

/** @type {Enterspeed.FullSchema} */
export default {
triggers: function(context) {
context.triggers('umbracoCloud', ['contentPage'])
},
routes: function(sourceEntity, context) {
context.url(sourceEntity.url)
}
}

To keep this example simple, we're not going to define any actions.

Great, so we have defined our settings, where we chose which data our schema should use (triggers) and how we should be able to fetch it (routes).

Defining the data

Now it's time to tie our existing data to our new content. We do this under properties.

We can define as many properties as we wish. For this example, we are going to define just one: a title.

First, we give our new property a name. Let's simply call it title.

Next, we need to set the value for this property. We do this by mapping to the data we wish to use from our source entity type, which we defined under triggers earlier.

info

Click the Source entities button on the Schema page and click View next to the Source you want to use. Here you can see all the available data.

The title we wish to use is called pageTitle in the data source and is inside the properties-object.

/** @type {Enterspeed.FullSchema} */
export default {
triggers: function(context) {
context.triggers('umbracoCloud', ['contentPage'])
},
routes: function(sourceEntity, context) {
context.url(sourceEntity.url)
},
properties: function (sourceEntity, context) {
return {
title: sourceEntity.properties.pageTitle
}
}
}

Deploying and testing your schema

Let's deploy and test our new schema.

Click on the Deploy schemas-button in the top right corner. This will open a pane where you can see current active deployments per environment and deploy changes to your desired environment.

You can now test your schema via Postman, Insomnia, etc.